Learn from real-world examples of custom Gradio components
The best way to learn how to build custom components is to see them in action. This guide walks through a complete example of building a PDF display component from scratch.
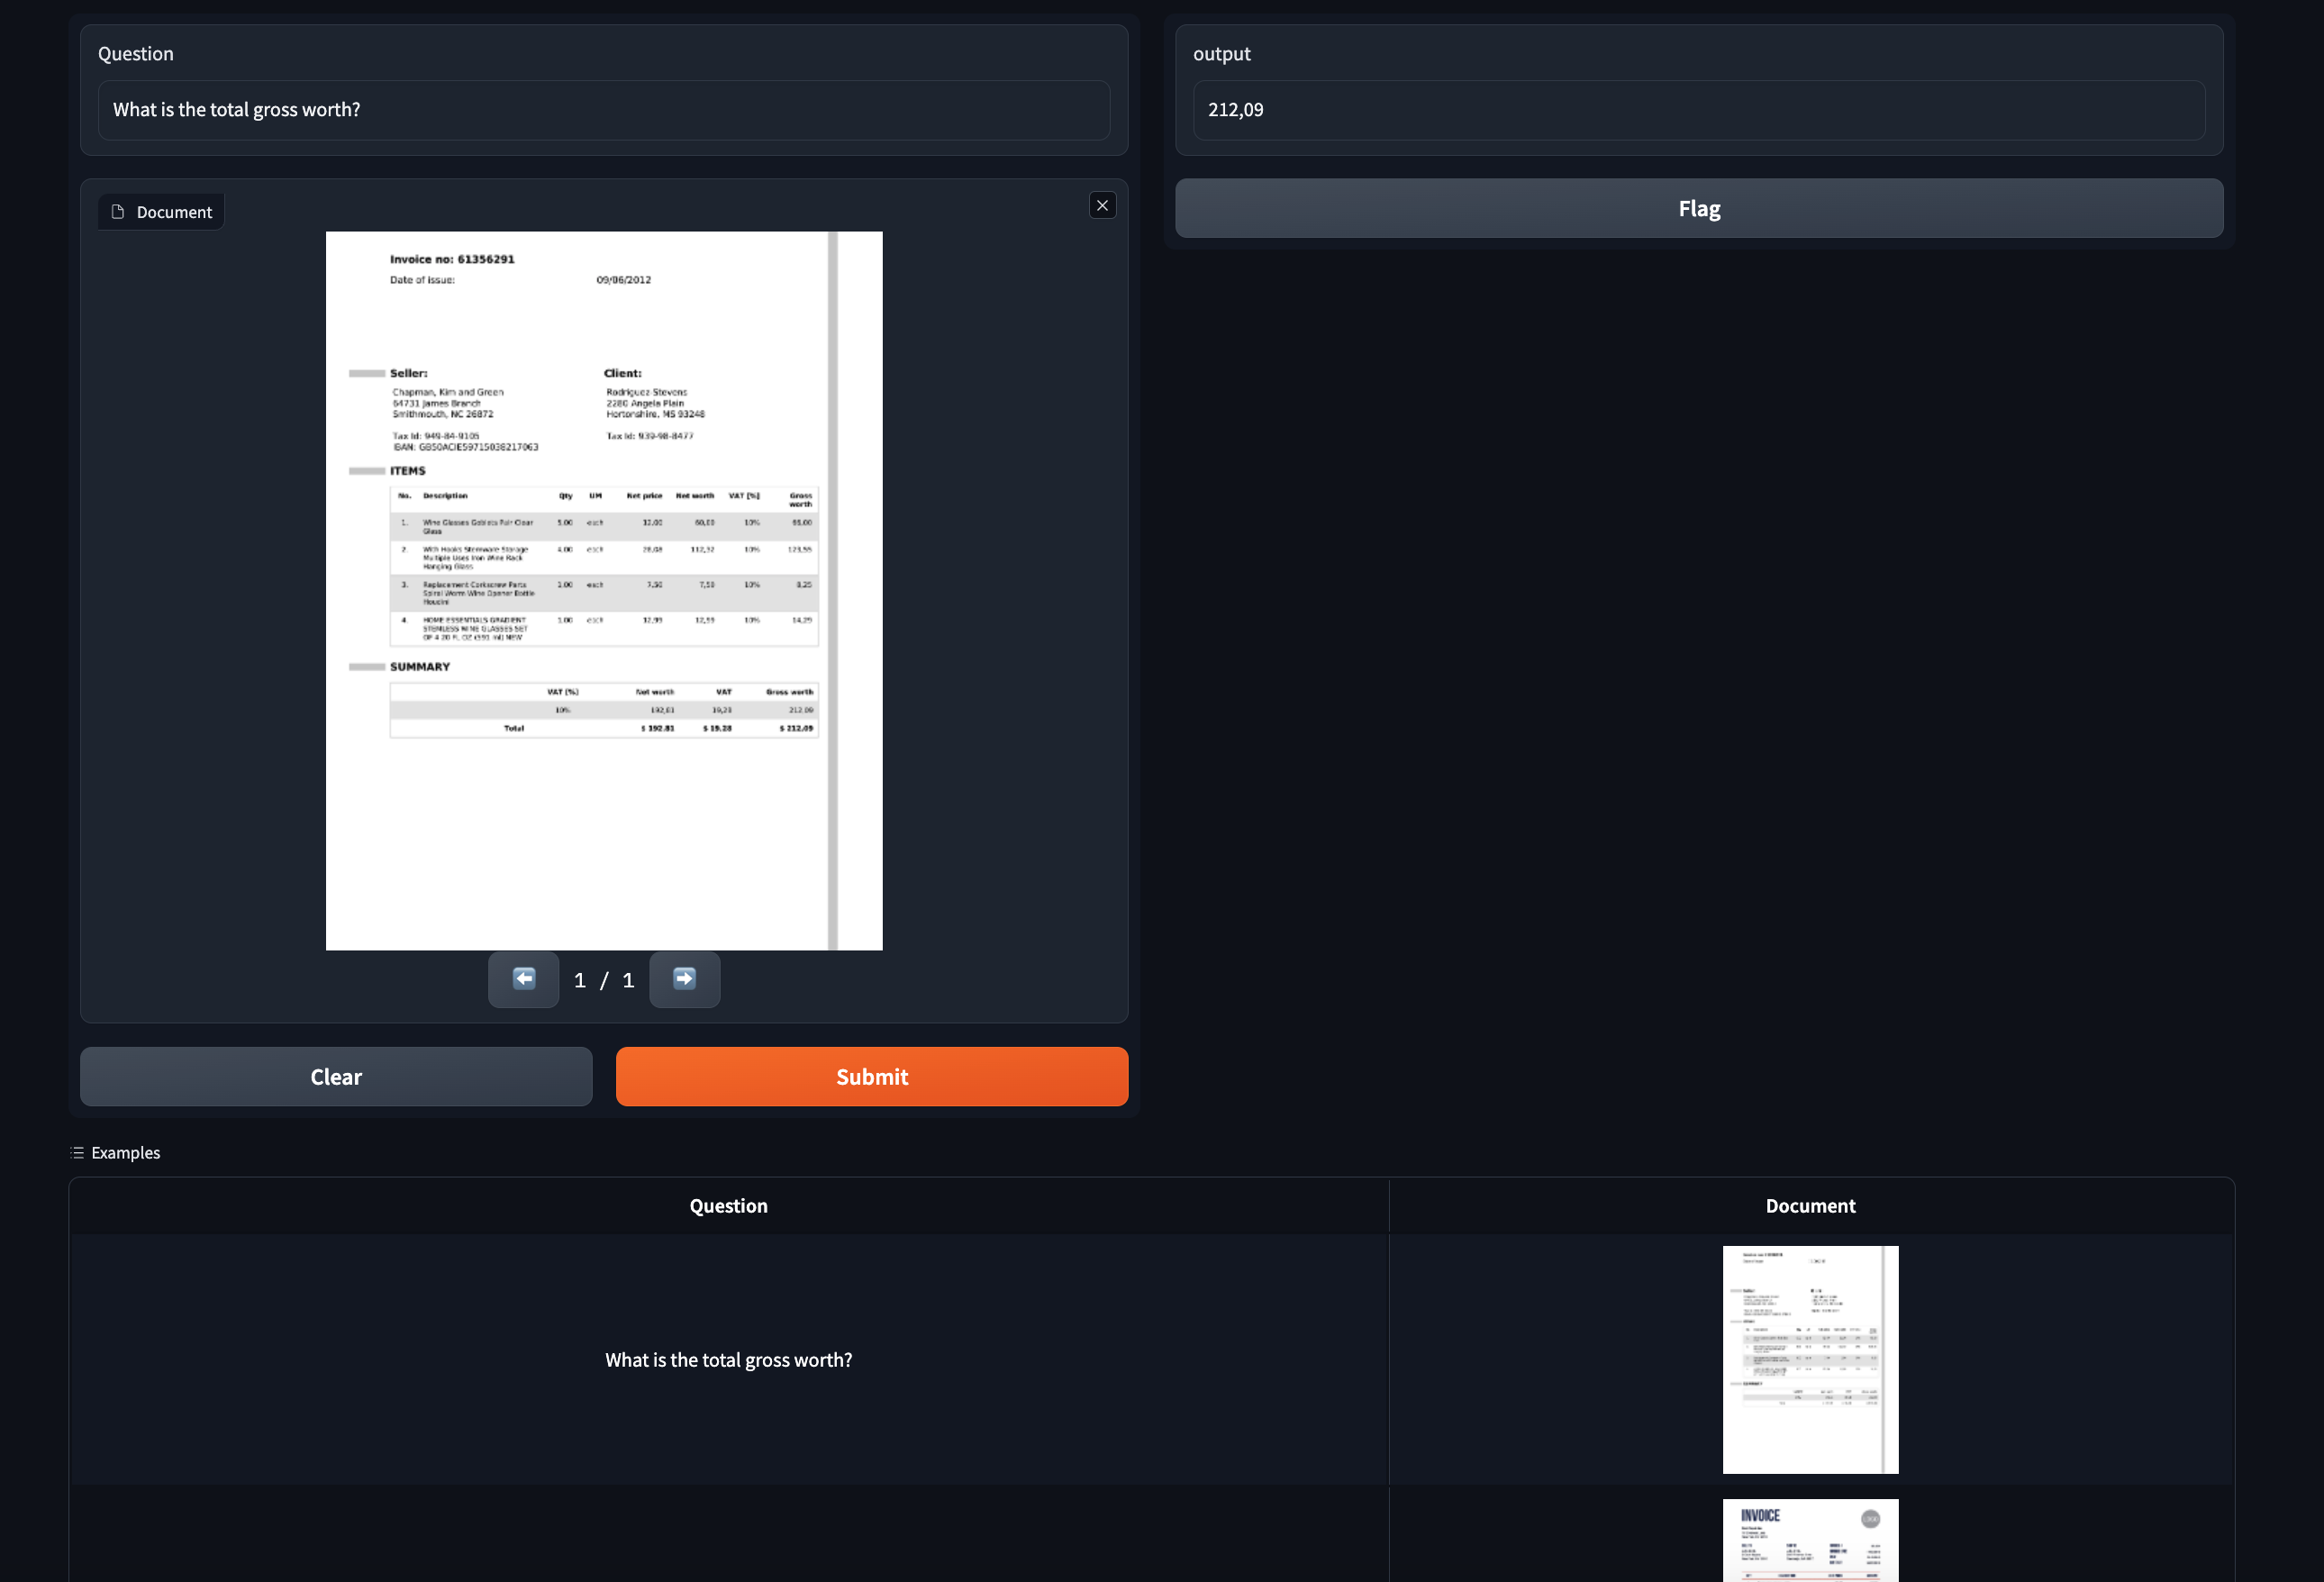
Let’s work through an example of building a custom Gradio component for displaying PDF files. This component will come in handy for showcasing document question answering models, which typically work on PDF input.This is a sneak preview of what our finished component will look like:
In Index.svelte, add the following imports and props:
import { tick } from "svelte";import type { Gradio } from "@gradio/utils";import { Block, BlockLabel } from "@gradio/atoms";import { File } from "@gradio/icons";import { StatusTracker } from "@gradio/statustracker";import type { LoadingStatus } from "@gradio/statustracker";import type { FileData } from "@gradio/client";import { Upload, ModifyUpload } from "@gradio/upload";export let elem_id = "";export let elem_classes: string[] = [];export let visible = true;export let value: FileData | null = null;export let container = true;export let scale: number | null = null;export let root: string;export let height: number | null = 500;export let label: string;export let min_width: number | undefined = undefined;export let loading_status: LoadingStatus;export let gradio: Gradio<{ change: never; upload: never;}>;let _value = value;let old_value = _value;
The gradio object contains metadata about the application and utility methods. We define that our component will dispatch change and upload events.
You’ve built a complete custom component! You can now use it in any Gradio 4.0+ app:
import gradio as grfrom gradio_pdf import PDFwith gr.Blocks() as demo: pdf = PDF(label="Upload a PDF", interactive=True) name = gr.Textbox() pdf.upload(lambda f: f, pdf, name)demo.launch()
Explore this collection of custom components on the HuggingFace Hub to learn from other developers’ code.Need help? Join the Gradio community on the HuggingFace Discord.
Assistant
Responses are generated using AI and may contain mistakes.